Linux 版本号命名规则
这里先对linux的内核版本号做个解释,以“4.8.0-36-generic”为例:
| 4 | 8 | 0 | 36 | generic | |
| 主版本号 | 奇数为开发版 | 修订版本号 | 第几次微调 | generic | 通用 |
| 偶数为稳定版 | preemption | 抢占式 | |||
| preemption | 低延时 | ||||
| rt/realtime | 实时 | ||||
对于该用哪种类型,官网上的解释如下:
- If you do not require low latency for your system then please use the -generic kernel.
- If you need a low latency system (e.g. for recording audio) then please use the -preempt kernel as a fist choice. This reduces latency but doesn’t sacrifice power saving features. It is available only for 64 bit systems (also called amd64).
- If the -preempt kernel does not provide enough low latency for your needs (or you have an 32 bit system) then you should try the -lowlatency kernel.
- If the -lowlatency kernel isn’t enough then you should try the -rt kernel
- If the -rt kernel isn’t enough stable for you then you should try the -realtime kernel
Linux 内核编译
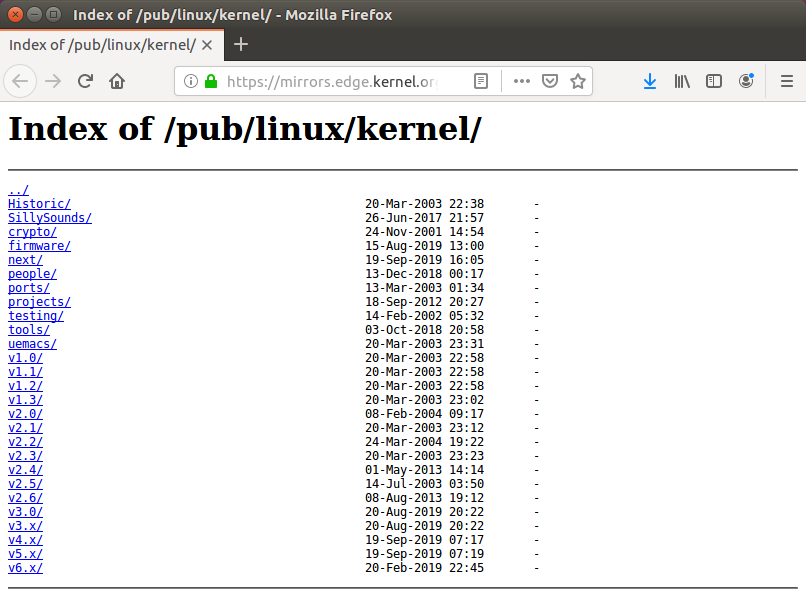
前往Linux内核 选择所需要的版本:
下载到本地执行下述命令解压,进入到解压后的文件夹:
1 | $tar -xvf linux-3.18.129.tar.xz linux-33.18.129 |
执行内核配置时需要依赖到curses的库,用于以图形化选择配置方案,执行如下命令安装:
1 | $sudo apt-get install libncurses5-dev |
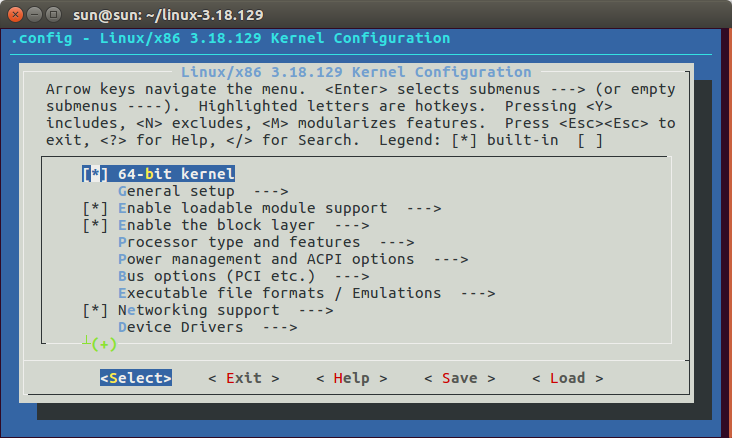
对内核进行裁剪,执行如下命令进入到图形化配置界面,直接选择需要的项目进行更改,具体内容请查阅内核配置的详细文章,此处不做过多介绍:
1 | $make menuconfig |
根据自己的需求进行相应的配置,完成后会保存为.config到该目录,当然也可以拷贝已有的文件,不用再进行配置。
执行编译命令,开始编译,如果是多cpu,可以后接 -j(n),这样编译能快些,不然只会一个一个的编译:
1 | $make -j4 |
编译完成后,执行如下命令安装内核modules:
1 | $sudo make modules_install |
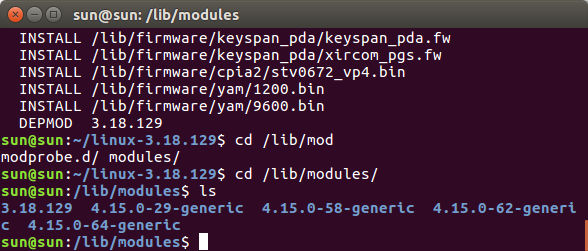
执行完毕后可以到/lib/modules下查看是否新增了对应的文件夹:
然后再执行如下命令安装内核:
1 | $sudo make install |
执行完毕后到/boot文件夹下查看是否新增相关文件:
使用新内核
安装完成后,重启机器。在重启的过程中,使用TAB+shift组合键或者ESC进入grub引导界面,不同的机器进入的方式可能会略有差异,以Ubuntu为例,启动时进入到grub,可以看到已经多出了本次编译的内核:
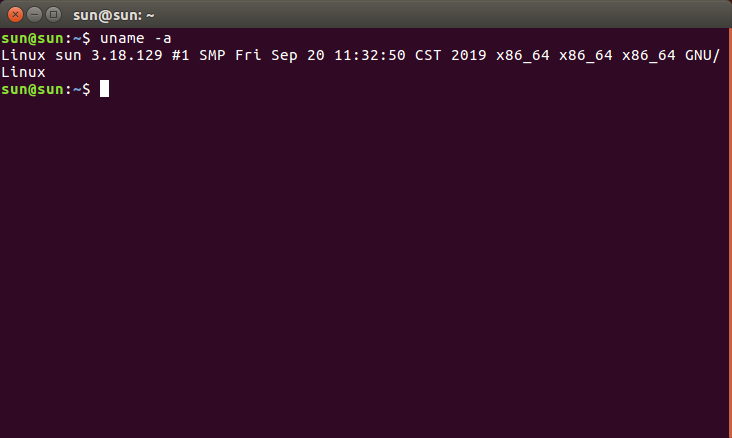
进入系统后再查看内核版本,已经变更为新编译的3.18.129: